Adding Images to your Website Go through the Step-by-step guide by Webware.io Team to Add Images that will look great on your website. Browse to learn more. Shruthi Gautham
Preparing Images for Upload:
You need to create an image that will look great on your website. Depending on the theme you have chosen for your website, there are specific dimensions for the images on your site.
Find out the right image dimensions
Within your website, you will see image specifications on the "Add Image" icon (see "Upload New Photo" steps below).
2. Size your images appropriately
You should crop the image or add space around the image, rather than resizing it. If you need help, please write an email to your support team.
3. Save your images
The file type should be .jpg or .png. Make sure the filename has NO special characters, including no spaces. The file size should be less than 5 MB. A smaller file size is better, so that your web page loads more quickly.
4. Upload
Once you have saved your images following these instructions, you are ready to upload them to your website.
To add an Image:
Login to your Workspace
Go to your website. Click on "View Your Store" in the upper right corner of your screen. The homepage screen appears.
.jpg)
NOTE: You must be logged in (step 1) in order to edit your website.
On the Home page of your website, you either see an existing image imported from your chosen template, or you can see an option to add image.
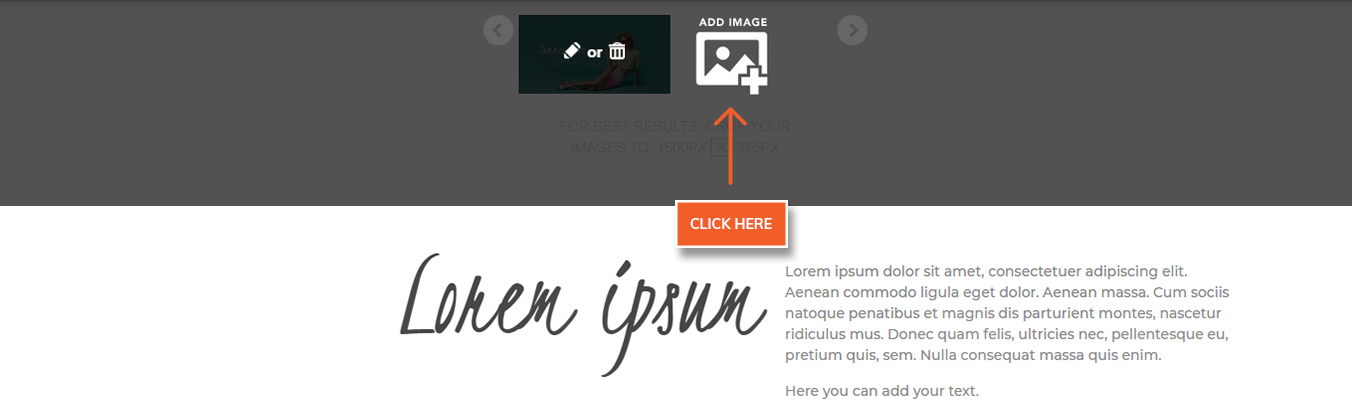
Changing an Image:
Move your mouse over the image until a black box appears.

2.Click the trash can icon located at the upper right corner to delete the existing image.
3. Click "Yes" to confirm deleting the image.
4. The "Add Image" box appears, with the recommended dimensions of the image to add.
Uploading a New Image:
1.Click Add Image.
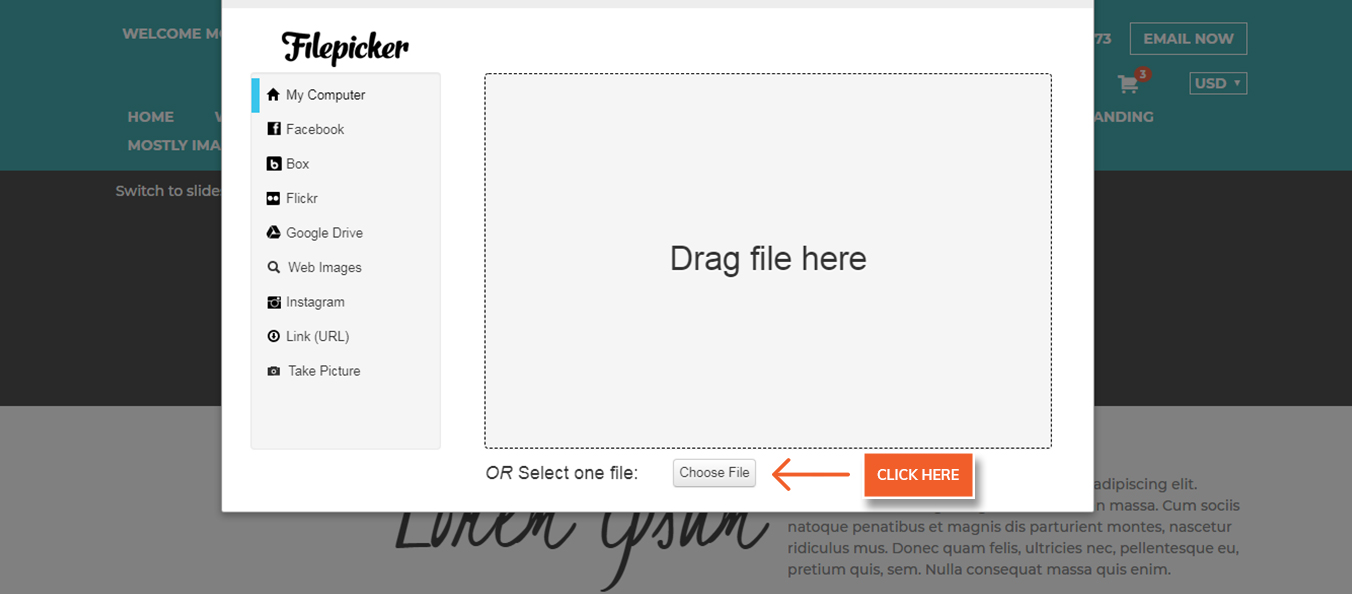
2. A dialog box appears. Select a photo from your computer or device, or from online file storage locations such as Facebook, Dropbox, or Instagram. Locate your file and click "Upload".
3. After the image is uploaded, you can edit your photo, crop, resize, and addieffects. Click the "Edit" button to try it out.
4. Click "Save".
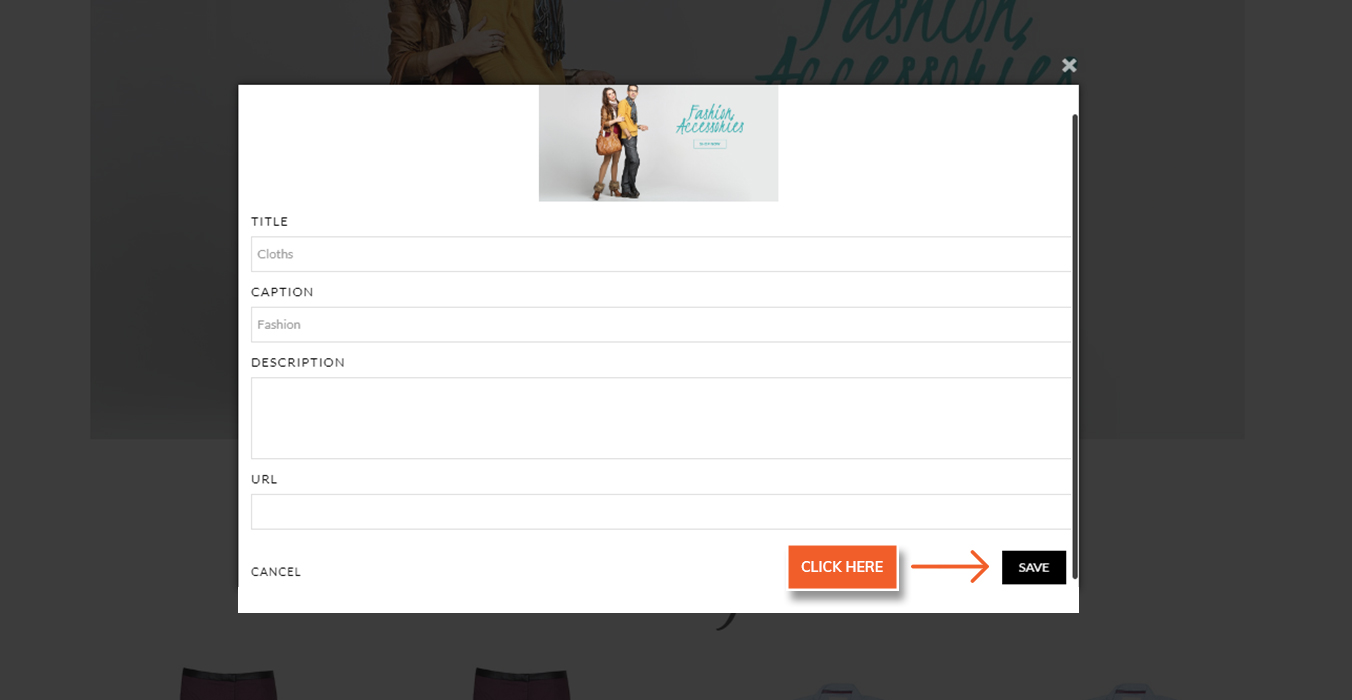
Fill the image details such as Title (required) and Description and click "Save".
Did this answer your question?