Adding Sections The pages of your store's website is organised in Sections. Go through the step by step guide on how to add sections by Webware.io. Shruthi Gautham
The pages of your store's website is organised in folders or "Sections". The display names for these Sections appears in the Main Menu of your website.

To add a Section:
1. Login to your Workspace
2. Click Website > Site Pages from the left menu.

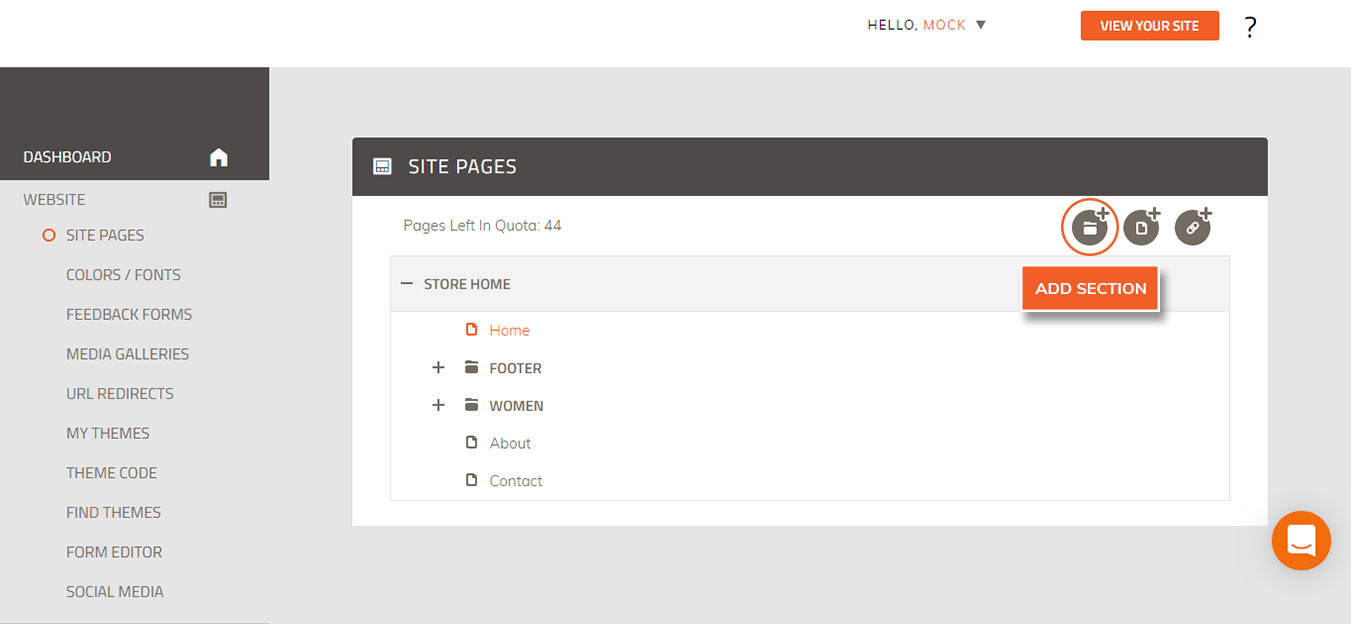
3. You can add any new Section folders to your Store Home folder.
Click Store Home, then click the Add Section button.
4. Enter a Display Name. This is the name that will appear in the Main Menu of your site.
5. The handle will get updated automatically.
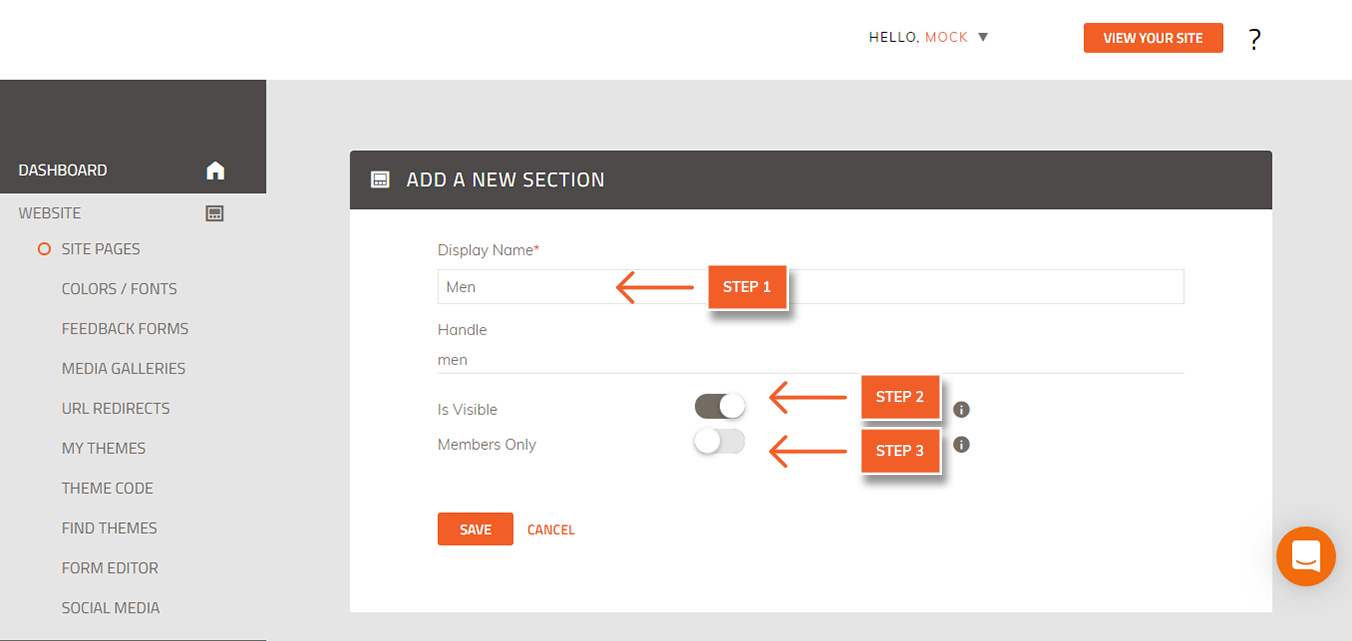
6. In the Is Visible field:
Select “True” to enable the menu item to be visible on your site.
Select “False” to disable the menu items on your site.
NOTE: You may want to use the "False" setting to temporarily remove sections from your menu without deleting them from your Workspace.
7. Members only field:
Select “True” if you want only registered customers to have access to this section of your site
Select “False” if you want everyone who visits your site to have access to this section.
8. Click Save.
The current sections and pages of your website is listed here. When you open the Site Pages screen, you already have a few Section folders created. The Store Home and Footer folders are very important to the basic structure of your website.
To view your new section on your website/store:
Click "View Your Store" in the upper right corner of your Workspace.
.jpg)
The website home page appears.
NOTE: If the menu item is not showing, click "Refresh" to refresh the page.
 Did this answer your question?